1. Introduction to coordinate measurement
The coordinate measuring machine is a highly accurate measuring system with high versatility and high degree of automation. For general measurement software, the measurement process of the CMM can be divided into the following steps (assuming the test of the probe and the establishment of the coordinate system have been completed):
(1) Collect the coordinate position of the feature point. That is, the object to be measured is directly measured by the probe, and the coordinate values ​​are read and recorded.
(2) Calculate and construct the previously measured feature points according to the "minimum condition". If it is a shape error, the error value can be directly calculated.
(3) If it is a position error, construct the basic points such as points, lines, and surfaces required for error evaluation according to the "minimum condition", and mathematically calculate the actual error between the elements, and judge whether it is based on the pattern. qualified.
In this process, the acquisition of the first feature points is the basis of the follow-up work. If there are errors, the constructed feature elements can not truly reflect the actual situation of the parts, and the results of error calculation and evaluation are not credible. . Therefore, the location of feature points, the number of feature points, and the acquisition method have a very important impact on the results of the three-coordinate measurement. This article is aimed at such problems, and has carried out a certain degree of experimentation and discussion on the points of the three-coordinate measurement, and has drawn useful conclusions.
2. Flatness measurement and evaluation method
Flatness measurement is the basic content of geometric quantity evaluation. It is 14 types of error measurement (straightness, flatness, roundness, cylindricity, line profile, surface profile, parallelism, perpendicularity, inclination, coaxiality, The most basic and representative of the degree of symmetry, position, round jump, and full jump. According to the "minimum condition" requirements, the flatness error can be assessed by the minimum containment area method, the diagonal method, and the three-point method. Taking the minimum containment area method as an example, the flatness error can be determined as long as one of the following conditions is met:
(1) Triangle rule Figure 1a is the triangle rule. In the figure, point A is the highest point of the concave actual surface, a, b, and c are the three lowest points, and the projection of point A falls within the triangle consisting of three points a, b, and c. On the basis of satisfying this condition, a, b, and c points determine plane 1, and point A passes plane 2 parallel to plane 1, and plane 1 and plane 2 form a minimum area, and the distance between the two planes is It is the flatness error.
(2) Cross rule Figure 1b shows the rule of intersection. In the figure, point A and point B are the highest points of the saddle-shaped real surface, point a and point b are the lowest points, and the straight line AB and the straight line ab determine a pair of parallel planes, and the two straight lines are in a crossed state, then the two parallel planes The smallest area is formed, and the distance between the two planes is the flatness error.

For the three-coordinate measurement, the above two evaluation methods are calculated by the corresponding feature points (the highest point and the lowest point). It can be said that the position and quantity of the feature points actually determine the magnitude of the flatness error.
In addition, each element has a minimum number of measurement points, such as flatness measurement. No matter which rule is used, at least 4 points must be measured to calculate the flatness error; the straight line must measure at least 3 points; the circle must measure at least 4 points; The cylinder must measure at least 6 points. In general, if the measurement conditions and the object have been determined, the more points are measured, the more the measured error value reflects the true condition of the measurement object, but considering the measurement efficiency and economy, the measurement point cannot be increased indefinitely. Especially in the case where some precision and batch requirements are relatively high, it is hoped that a suitable number of measuring points can be found, so that the measuring device can complete the measuring task faster and reflect the actual situation of the measured object more realistically.
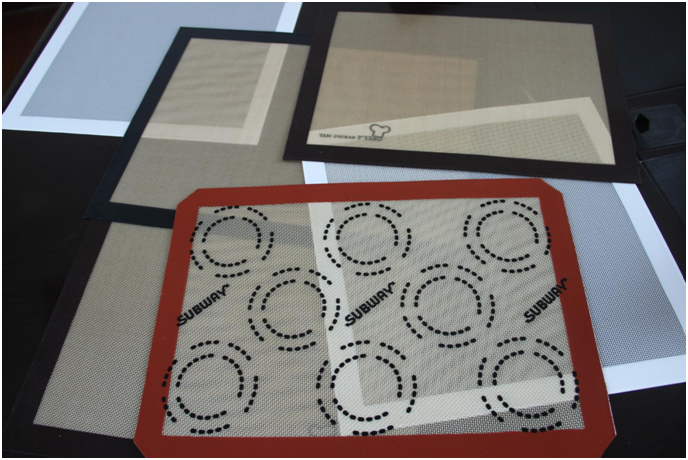
Non Stick Silicone Baking Mat is a commercial-grade baking sheet designed for home baker. Baking mat works in standard and convection
ovens. Perfect for baking jelly roll cakes, bread, pastries, cookies, and more.
Made from FDA-approved, food-grade silicone and reinforced with Fiberglass
mesh fabric. Naturally non-stick so foods release quickly and easily
without oiling or greasing for easy cleanup. Heat transfers evenly so foods
brown perfectly. Outlasts thousands of bakes.

Silicone Baking Mat,Non Stick Silicone Baking Mat,Food Grade Silicone Baking Mat,Custom Silicone Baking Mat
Yangzhou Jiangdu Chenguang Special Equipment Factory , http://www.siliconebakingmats.com